How to Sew Satin: The Complete Guide
By the end of this guide, you’ll cut satin without it sliding across the table, sew seams that lie flat instead of puckering, and press without melting the shine off. That’s the whole game.
Difficulty depends on the type: crepe-back satin behaves, charmeuse fights. A settings matrix below covers each type.
Time: one focused read, then a practice seam on a scrap. Always a scrap first.
What’s the hardest part of sewing satin?
Keeping the fabric still. Satin’s long floating yarns shift under a standard presser foot, slide across the cutting table, and catch on anything sharp. Every technique in this guide solves one version of that problem. Control the movement, and puckering, uneven seams, and snags mostly disappear.
Those long floats are the satin weave doing what it was designed to do: yarns floating over the surface with few anchor points. The shine you want and the slipperiness you fight are the same feature.
What do you need to sew satin?
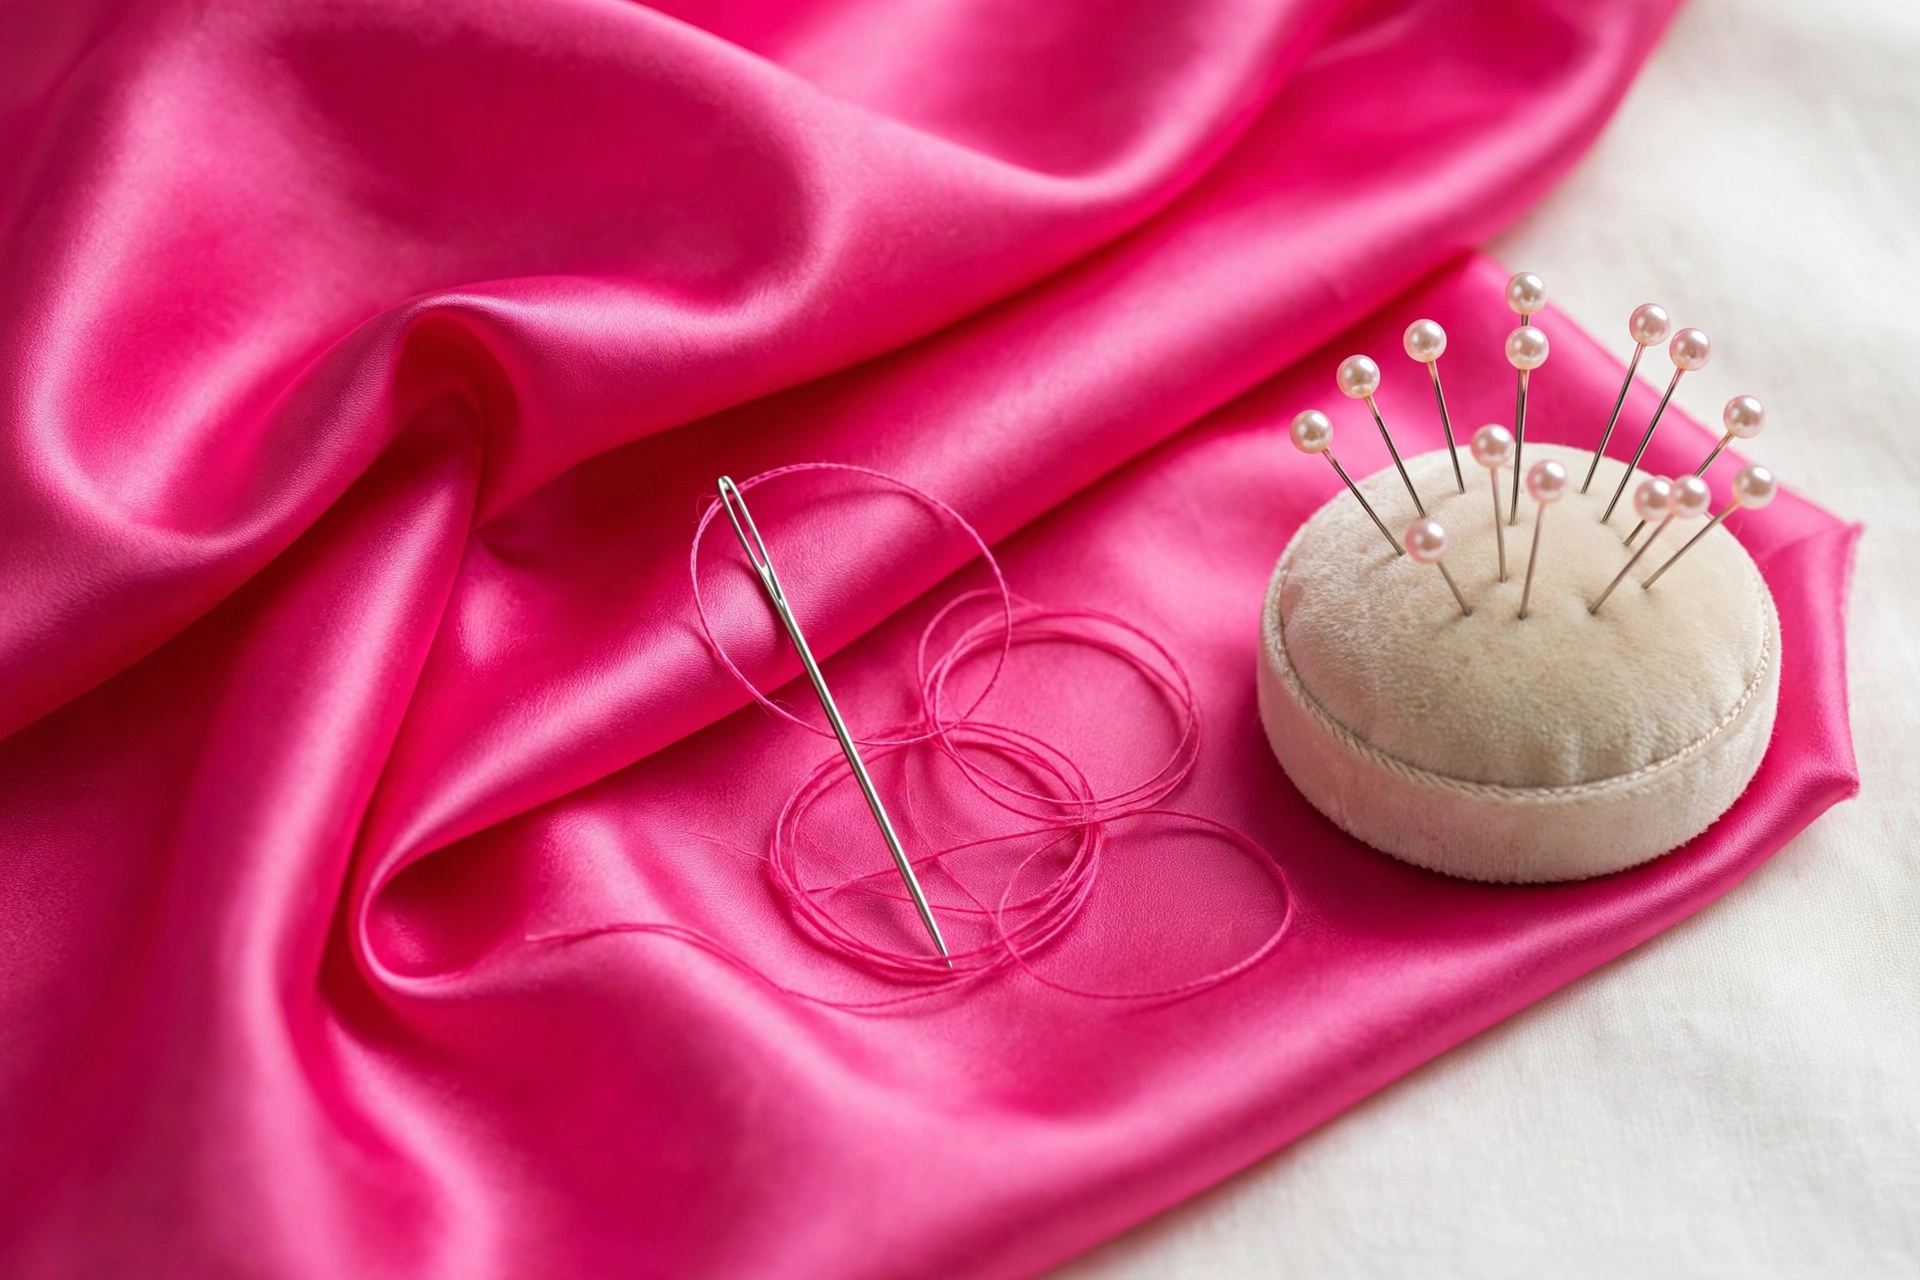
You don’t need a new machine or an expensive kit. You need a fine sharp needle, a foot that feeds both layers together, and a press cloth. Every item below earns its place by solving one specific satin problem: shifting, snagging, holes, or heat damage.
Needles: Microtex (sharp), size 60/8 to 70/10. This is the consensus across sewing references. A fine sharp point slips between filament floats instead of punching through them. A heavy universal needle leaves holes the smooth face never hides. One retailer claims ballpoint needles are “absolutely” fine, but no source separates woven satin from knit stretch satin, so treat that as untested: woven satin gets Microtex, stretch satin gets a stretch or ballpoint needle.
Thread: fine all-purpose polyester. Thin enough to disappear, strong enough to hold. Skip heavy-duty thread; it adds bulk where satin’s luster shows everything.
Pins: fine silk pins, used sparingly. Pin holes don’t close, so keep pins inside the seam allowance. For thick duchess, use clips instead.
Presser feet: a walking foot first, a Teflon foot second. The walking foot feeds both layers together, the direct fix for float-shift. The Teflon foot glides where standard metal drags. Note: a “satin stitch foot” is for the decorative satin stitch, not satin fabric.
Presser-foot pressure: turn it down if your machine has the dial. Less squish, less shifting.
Cutting: rotary cutter, mat, pattern weights. A rotary cutter rolls through satin where scissors push it. Weights hold pieces without pin holes.
Marking: tailor’s chalk, wrong side only. Satin keeps the ghost of water-based markers long after they dry.
Tissue paper: plain gift-wrap tissue. The cheapest satin tool you’ll own, and one of the most useful.
Pressing kit: iron with dot settings, a press cloth (silk organza, muslin, or linen), a tailor’s ham. The ham keeps curves curved; a flat board mashes them.
How do you cut satin without it shifting?
Cut one layer at a time, sandwiched in tissue paper, with pattern weights instead of pins. Satin’s long floats shift under the slightest provocation, so cutting is really an exercise in immobilization: friction from the tissue, weight from the weights, and nothing hanging off the edge for gravity to stretch.
- Build the sandwich. Tissue on the table, satin on the tissue, tissue on top. Friction above and below stops the floats walking.
- Single layer only. Folded satin doubles the slip; the bottom layer creeps and you find out after cutting.
- Weigh the pattern pieces down. Weights, books, cans of beans. If you must pin, pin through the tissue inside the seam allowance only.
- Cut with the rotary cutter. Long smooth strokes, no sawing. Lift nothing until the piece is fully cut.
- Keep it all on the table. Satin over the table edge means gravity stretching the bias and a cut line that stops being true.
- Mark on the wrong side with chalk. Right-side marks on satin are a regret you get to keep.
- Lay every piece the same direction. Satin’s sheen flips with direction like velvet. Cut one sleeve up and one down, and the garment looks two-toned in daylight. This nap-layout rule applies to every satin project.
How do you sew satin without puckering?
Satin puckers because the presser foot feeds the bottom layer while the top layer drags across the long floats. Shorten the stitch to 2.0 to 2.5 millimeters, drop the presser-foot pressure, and switch to the walking foot so both layers travel together.
Stitch length: 2.0 to 2.5mm. That’s the consensus figure. Shorter stitches grip slippery layers; long ones let the seam grin open.
Start one centimeter in. Begin 1cm from the raw edge, or on a leader scrap, so the machine doesn’t chew the corner into a thread nest. Backtack two or three stitches only on lightweight satin, or hand-knot; a big backstitch knot puckers into a lump the shine advertises.
Tension: balanced, and that’s the honest answer. No published source gives a satin-specific tension formula, and most puckering blamed on tension is really feed differential. Fix the foot and pressure first.
Don’t push or pull. Guide the fabric; let the feed dogs work. On stretch satin, pulling while sewing guarantees wavy seams.
Ease gently. For sleeve caps, run ease stitching and distribute without forcing. Polyester satin puckers when bullied.
Which seams work on satin?
Raw edges on satin fray fast: every cut end is a float with its anchor sliced off, and it slides out with almost no encouragement. Enclose or bind every raw edge that will see stress or washing; the seam finish is structural, not decorative.
French seams for lightweight satin. Sew wrong sides together, trim close, then sew right sides together to enclose the edge. Two passes, no fraying: the classic finish for charmeuse blouses and linings.
Hong Kong finish for medium and heavy satins. Bind the raw edges with bias strips. It suits duchess and other satins too thick to turn a French seam neatly.
Overlock the fast way. Serging works on any satin. One machine maker’s manual suggests differential feed around 0.7 for slippery fabrics; treat that as a starting point and dial it in on your scrap.
What settings does each satin type need?
Match the settings to the type: charmeuse is the hardest satin to sew, crepe-back satin the easiest, duchess thick and hem-resistant. New to the family? Our types of satin guide profiles each one.
| Type | Needle | Stitch length | Foot | Press | Top pitfall |
|---|---|---|---|---|---|
| Charmeuse | Microtex 70/10 (60/8 for silk) | 2.0mm | Walking foot | Per fiber; silk at 2 dots with cloth | Shifting and puckering at every step |
| Crepe-back satin | Microtex 70/10 | 2.0–2.2mm | Walking or standard | Silk at 2 dots with cloth | Sewing the wrong face outward |
| Duchess satin | 80/12–90/14 (heavier fabric, heavier needle) | 2.5–3.0mm | Walking foot | Low with cloth (usually poly) | Rolling edges; the near-impossible invisible hem |
| Stretch satin | Stretch 75/11–90/14 or ballpoint | 2.5mm or stretch stitch | Walking foot | Low with cloth | Wavy seams from pulling while sewing |
| Polysatin | Universal 70/10–80/12 | 2.5mm | Standard foot usually fine | Low, or skip pressing | Static cling while cutting |
| Silk satin (any type) | Microtex 60/8–70/10 | 2.0mm | Walking foot | 2 dots with cloth | Water spots and permanent pin holes |
| Acetate satin | Sharp 65/9–70/10 | 2.0mm | Teflon or walking | 1 dot with cloth | Heat and water damage; use sew-in interfacing, never fusible |
Needle sizes above the 60/8–70/10 consensus follow the common practice of sizing up with fabric weight. The scrap test outranks any table.
Charmeuse demands everything in this guide at once: tissue sandwich, walking foot, short stitch, minimal pinning. It’s the final exam.
Crepe-back satin is the one to learn on: body, no slither, and a matte reverse where pins and chalk behave.
Duchess needs interfacing where pieces must stay put; cut edges roll. Interface zipper seam allowances too.
Stretch satin follows knit rules: stretch needle, no pulling, and seams that need to give get a stretch stitch or a narrow zigzag.
How do you press satin?
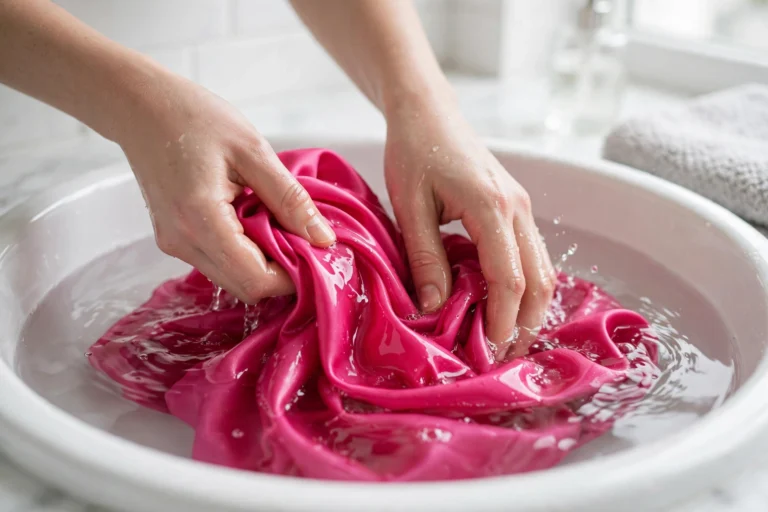
Press on the wrong side through a press cloth, starting at the lowest dot your fiber allows and testing on a scrap first. Direct heat flattens the floating filaments into a glazed patch, and that shine mark is permanent.
Heat flattens and polishes the floating filaments into a glazed patch that reflects light differently. It doesn’t wash out. The press cloth is the difference between a seam that disappears and a scar.
Use the dots, not guesswork. One dot (max ~110°C) for acetate and nylon; two dots (max ~150°C) for silk and polyester. Around 300°F (148°C) is the commonly cited silk-satin setting. Polyester melts near 250°C but glazes far below it, so never press poly satin hot. The fiber sets the rules, not the weave; more on that in our satin vs silk guide.
Test on a scrap from the same bolt. Satin’s face shows everything. Press a corner scrap and look before touching the garment.
Go easy on steam. Steam can water-spot silk satin, and a spot on a mirror face is a permanent guest. Dry iron plus cloth; test steam on the scrap first.
Which hems work on satin?
Match the hem to the weight: narrow rolled hems for lightweight satins, faced or hand-rolled hems for heavy ones like duchess. And hang any bias garment a full day before marking the hemline, because bias drops.
Narrow rolled hem is the standard for lightweight satin. Roll the edge twice, stitch close. A serger’s rolled-hem setting does it in one pass.
Duchess gets an honest answer. One veteran sewing writer called its hem “pretty much impossible to make invisible”: too thick, and the cut edge rolls. Real options: a hand-rolled hem, a faced hem, or fusible hem tape. That last one has never been properly tested on duchess anywhere we could find. If you try it, report back.
What about zippers in satin?
The invisible zipper is the standard closure, but satin punishes shortcuts: un-interfaced allowances stretch as you sew, and bias-cut dresses develop the famous zipper wave.
The wave’s fixes come from a 2011 Threads Magazine forum thread and still hold: interface the allowances, hang the garment a few days before setting the zipper so the bias finishes dropping, and pin the zipper with the garment on the dress form, not flat on the table. Store bias pieces rolled, not folded.
What are the most common satin sewing mistakes?
These come from years of forum threads, rewritten here in one place.
- Cutting two layers at once. The bottom layer walks; the pieces don’t match. Single layer, every time.
- The wrong needle. A universal 90/14 punches visible holes in charmeuse. Match the needle to the weight.
- Skipping the walking foot. The standard foot feeds the bottom layer and drags the top: that’s your puckering.
- Ironing without a press cloth. One pass of direct heat leaves a glazed stripe on poly satin. The cloth prevents the most permanent mistake in this list.
- Steam or water on silk satin. Water spots on a mirror face don’t fade. Dry iron, press cloth, scrap test.
- Pinning across the garment. Every pin is a hole that doesn’t close. Pins in the seam allowance; clips and weights elsewhere.
- Ignoring nap direction. Sheen flips with direction; mismatched pieces look two-toned in daylight. One-way layout, always.
- Stretching stretch satin while sewing. Pulling feeds wavy seams in permanently. Guide, don’t tow.
- Fusible interfacing on acetate satin. The heat and moisture that activate the glue are what acetate can’t take. Use sew-in interfacing.
- Letting bias pieces hang or drape. Off the table edge or on a hanger, gravity stretches bias a little more every hour. Flat or rolled until done.
Troubleshooting: problem, cause, fix
| Problem | Likely cause | Fix |
|---|---|---|
| Seams pucker | Top layer fed late (float-shift) | Walking foot, reduced foot pressure, 2.0–2.5mm stitch |
| Thread nests at seam starts | Machine chewed the corner | Start 1cm in or use a leader scrap |
| Skipped stitches | Dull or wrong needle | Fresh Microtex in the right size; rethread with the presser foot up |
| Raw edges fraying | Cut floats have no anchors | French seams, overlock, or Hong Kong finish every stressed edge |
| Panels look two-toned | Pieces cut in opposite directions | Recut with a one-way nap layout |
| Invisible zipper waves on bias | Bias stretched during insertion | Interface allowances; hang garment days before setting; pin on the form |
| Glazed stripe from the iron | Direct heat on filament floats | Press cloth, correct dot, wrong side only; the mark won’t wash out |
| Water spots on silk satin | Steam or droplets on the face | Dry iron with cloth; test steam on a scrap first |
| Hemline hangs crooked | Bias dropped after marking | Hang 24 hours, then mark the hem on the body |
Frequently asked questions
What needle do you use for satin?
Microtex (sharp) 60/8 to 70/10 for woven satin: the consensus. Stretch or ballpoint only for stretch (knit) satin.
What stitch length is best for satin?
2.0 to 2.5 millimeters. Shorter stitches grip the slippery layers; longer stitches let the seam grin open. Duchess and other heavy satins can take up to 3.0mm.
Why does my satin pucker when I sew?
The presser foot feeds the bottom layer while the top layer drags on the long floats. Switch to a walking foot, reduce the foot pressure, and shorten the stitch. Most puckering blamed on tension is really this feed problem.
Can you iron satin?
Yes, on the wrong side through a press cloth, at the dot setting your fiber allows: 1 dot for acetate, 2 dots for silk and polyester. Direct heat glazes the filaments permanently. Test on a scrap first.
How do you stop satin from fraying?
Enclose or bind every raw edge. French seams for lightweight satin, Hong Kong binding for heavier types, or overlock the edges. Each cut float has lost its anchor, so it slides out fast.
Is satin hard for beginners to sew?
It depends on the type. Crepe-back satin and polysatin are genuinely beginner-friendly; charmeuse is the final exam. Start easy, practice on a scrap, and run this guide’s checklist before cutting fashion fabric.
Why trust this guide? Every technique here is explained through the weave mechanism, not handed down as unexplained rules. Numbers come from published sewing references or are framed as widely-reported practice with a scrap-test-first rule. Where the trade disagrees with itself (the ballpoint needle claim, the duchess hem tape idea), it says so. Corrections welcome: they make the guide better for everyone.